Yeah, it's over my head, too. This is why I'm an MA student, not an MS. I'm sure it's fascinating, but I'll spend this lecture I'm sitting through writing about what I made for dinner last night. Professional, I know. What I really want to do is get up and watch the electrical storm that's over Stony Brook right now. It sounds intense from this dark, windowless room, and I love storms!
 |
| I wish I could say that I grew that sweet potato, but I didn't. Next year! |
 |
| Another awesome gift from Mama Jo.. the Cuisinart Mini Prep Plus Processor chopped onions and garlic fabulously! |

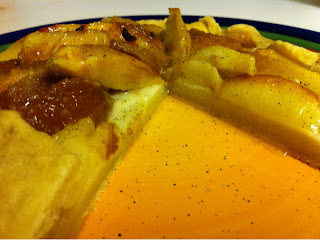
Sweet Potato Vegan Mac n Cheese
Serves 6 to 8
- 1 sweet potato, peeled and cubed
- 2 cups water
- 1 tsp. dried sage
- 2 Tbsp. olive oil
- 1 medium yellow onion, diced
- 1 large garlic clove, minced
- 1 cup of coconut milk
- 2 tsp. ground mustard
- 1 Tbsp. tomato paste
- 1 Tbsp. nutritional yeast
- Boil the potatoes and sage in the 2 cups of water until the potatoes are easily pierced with a fork.
- Drain the potatoes, reserving the water, and add them to a blender.
- Sauté the onions and garlic in the oil just until the onions begin to brown.
- Add the onions and garlic to the potatoes in the blender.
- Add the rest of the ingredients and blend until combined.
- Add the reserved potato water to thin the sauce to the desired consistency.
- Serve over pasta.


